
No products in the cart.
Japanese Head Spa Room Setup Checklist
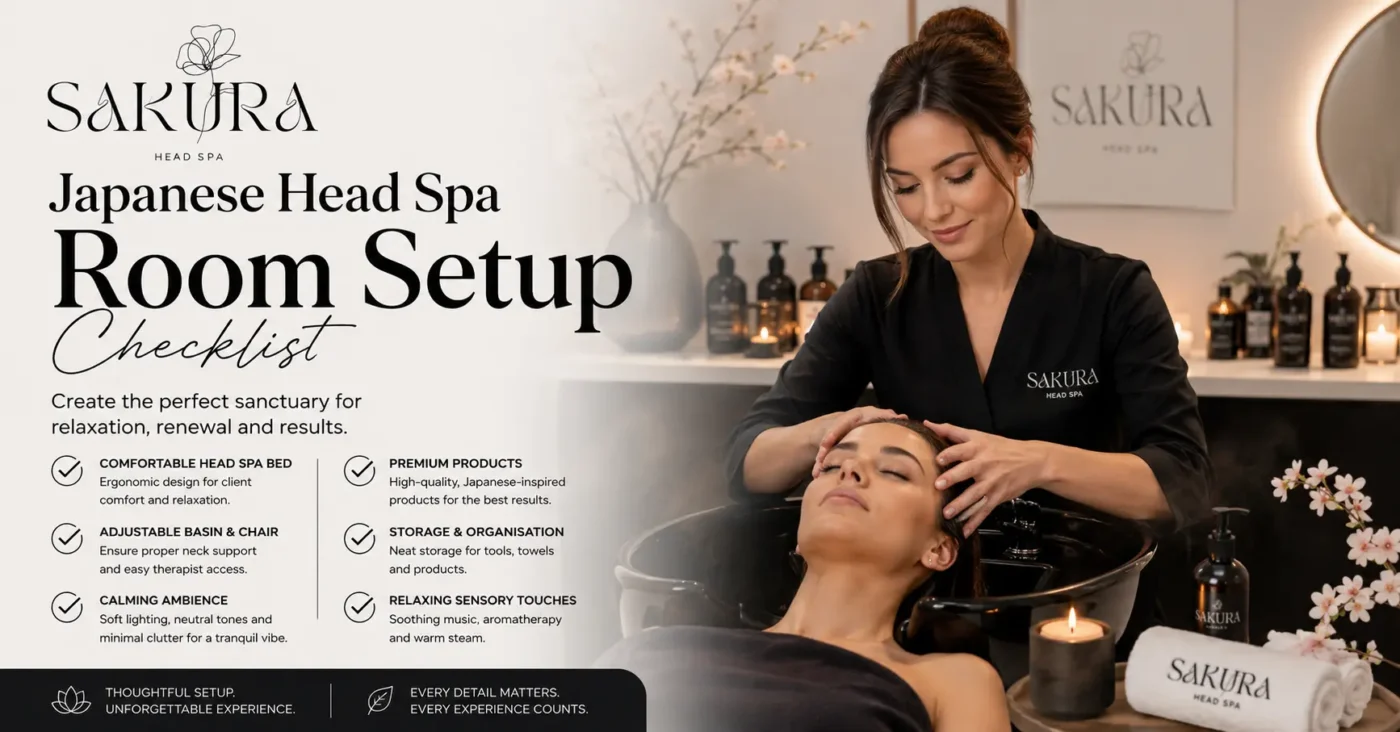
A Japanese head spa is one of those services whose success depends entirely on the surroundings. Even the best professional and the most high-end equipment can fail to deliver the desired effect if the environment is not properly designed. A head spa room requires some specific accommodations to make the customer feel relaxed and free from a multitude of everyday worries. And another thing – if something is wrong, you will spend a lot of money trying to fix it, so it is better to avoid mistakes at the stage of head spa room design.
If you want to equip a new head spa room or you are making improvements in an existing one, make sure you follow all recommendations below.
Room Size and Layout
Spa treatments for the head are typically delivered using a laying down position. This can either be a chair or a bed. The therapist will be behind or at the side of the client. There is also often a trolley with products or tools on wheels nearby. The room has to accommodate this layout as well as provide enough space to allow free and easy movement. So how big should a head spa room be?
✓At least 4 or 5 square metres per head spa station
✓Space of around 700 – 800mm clear at the back and sides for the therapist to have enough working room
✓The door should not swing into the working area so it should not hit the chair, trolley, or clients feet
✓Enough vertical space to allow for any overhead items such as lights or a rain type rinse if they are to be fitted
Access
Accessibility can be taken for granted until it is not there. Consider client flow and access to your business including staff, delivery, and plumbing access
☐ A clear line of sight from the reception to the head spa room without having to pass through treatment rooms
☐ Doorways and passageways that allow for the simple passage of a trolley or other equipment
☐ The ability to reach and shut off water supplies without having to go into the room
☐ Wheelchair accessibility if you are catering to a broader client base.
Water and Drainage
This is the part of a head spa fit-out that most often gets underestimated, and the part most expensive to fix after the fact. Get proper trade advice early, rather than trying to retrofit plumbing once the room is otherwise finished.
☐ Confirm your building has adequate water pressure and hot water capacity for continuous head spa use
☐ Install a dedicated drain positioned correctly for your chosen head spa basin or system
☐ Check that plumbing meets local council and building code requirements before committing to a room layout
☐ Plan for a water temperature control system that’s easy for therapists to adjust mid-treatment
☐ Consider a water filtration system, since consistent water quality affects both the treatment experience and the life of your equipment
Towels and Linen
Head spa treatments go through linen fast, so storage and turnaround both need thought.
☐ Dedicated shelving or a linen trolley within easy reach of the treatment chair
☐ Enough towel stock to cover your busiest day without mid-shift laundry runs
☐ A clear system for separating clean and used linen, ideally with a closed hamper rather than an open basket
☐ Headbands, neck towels and any disposable liners stocked and easy to grab one-handed
Lighting and Ambience
Ambience plays a significant role in any Japanese head spa, as it determines whether it is an enhancement to the standard salon visit or a much-needed haven. It is this detail that begins to communicate your brand to your customers.
Specifically you should consider the following factors:
️ A lighting scheme that can be adjusted to set the mood for both preparation and the treatment itself
️ Sound management, either through music or noise-cancelling elements to ensure a quiet room
️ A scent, if applicable, that is neither overpowering nor unrelated to your brand
️ A temperature that is likely to be different from the rest of the salon, due to clients spending much time laying still and therefore being more susceptible to hot or cold temperatures
️ Decor that evokes a particular feeling, as opposed to holding over furniture from the rest of the salon.
Product Storage
Head spa treatments typically involve more products than a standard wash, from scalp scrubs to specific oils and masks, so storage needs to be organised and within reach.
☐ Trolley or shelving positioned within arm’s reach of the treatment chair
☐ Clear labelling for each product, especially if multiple therapists use the same room
☐ A stock rotation system so nothing sits unused for too long or expires without being noticed
☐ Backup stock stored nearby but out of the treatment room itself, to keep the space uncluttered
Cleaning Workflow
A head spa room needs a fast, reliable clean-down between clients, both for hygiene and to keep appointments running on time.
☐ A clear step-by-step cleaning checklist posted somewhere visible for staff, especially useful when training new therapists
☐ Sanitising products stored within the room rather than requiring a trip elsewhere in the salon
☐ A realistic turnaround time built into your booking system, so cleaning isn’t rushed or skipped under time pressure
☐ Regular deeper cleaning scheduled for drains, basins and any equipment with water contact, not just surface wipe-downs between clients
Bringing It All Together
It’s easy to get caught up in the exciting parts of a head spa fit-out, the chair, the lighting, the scent, and let the practical groundwork slip. But water, drainage and workflow are what determine whether the room actually functions well day to day. Get those right first, then layer the ambience and styling on top.
Get Your Free Head Spa Setup Checklist
Want this checklist in a printable format to take through your space in person? Download the full checklist here and work through it room by room before you commit to a layout.
Ready to start sourcing equipment? Browse our head spa equipment range, or take a look at our starter packages for a curated bundle covering chairs, basins and essential accessories.
Not sure what will fit your space, or want advice specific to your fit-out? Book a consultation with our team at Sakura Head Spas. We can also point you to our training page if you’d like your therapists trained on head spa technique once the room is ready, and our aftercare product range to send clients home with. Salons planning multiple rooms or locations can reach out through our wholesale enquiry page for bulk pricing.
Frequently Asked Questions
How much space do I need for a head spa room?
As a general guide, aim for at least 4 to 5 square metres for a single head spa station, enough to fit the chair, basin and a clear working area for your therapist. Smaller spaces can work but will feel tight during longer treatments.
Do I need special plumbing for a head spa basin?
In most cases, yes. Head spa basins typically need a dedicated drain and reliable hot water supply, so it’s worth getting a licensed plumber to assess your space before finalising your room layout.
How many towels do I need per head spa station?
This depends on your daily client volume, but many salons find having enough for a full day without a mid-shift laundry run works well, often somewhere between 15 and 25 towels per station as a starting point.
Can I convert an existing treatment room into a head spa room?
Often, yes, provided the room can accommodate the plumbing and drainage requirements. It’s worth getting a plumber to assess feasibility before committing, since retrofitting water access can be more involved than other parts of the fit-out.
What’s the biggest mistake salons make when setting up a head spa room?
Underestimating plumbing and drainage requirements is the most common issue, followed closely by not allowing enough working space for the therapist. Both are much cheaper to plan for properly than to fix after the room is finished.
How long does a typical head spa room fit-out take?
Timelines vary depending on whether plumbing work is required, but many single-room fit-outs take anywhere from two to six weeks from planning through to a room ready for clients. Building from scratch or requiring significant plumbing changes will typically take longer.